Please scroll down for current posts. This post will periodically pop up back on top until the Bike Event in April.
Good morning all my bloggy friends!
Here is an opportunity for you to help your community. My husband, Tom, will be BIKE RIDING from HOUSTON, TEXAS TO AUSTIN, TEXAS to fight MS April 16-17, 2011.
If you are interested in helping out, donations of any size are greatly appreciated!!
Here is a direct link to Tom's MS Bike Ride Event Donation Page. His goal is to raise $1,000!!!
Thank you so much! Please pass this link and information along to your company if they give to charitable causes (it's a great tax write off for them, I think!)

Monday, January 31, 2011
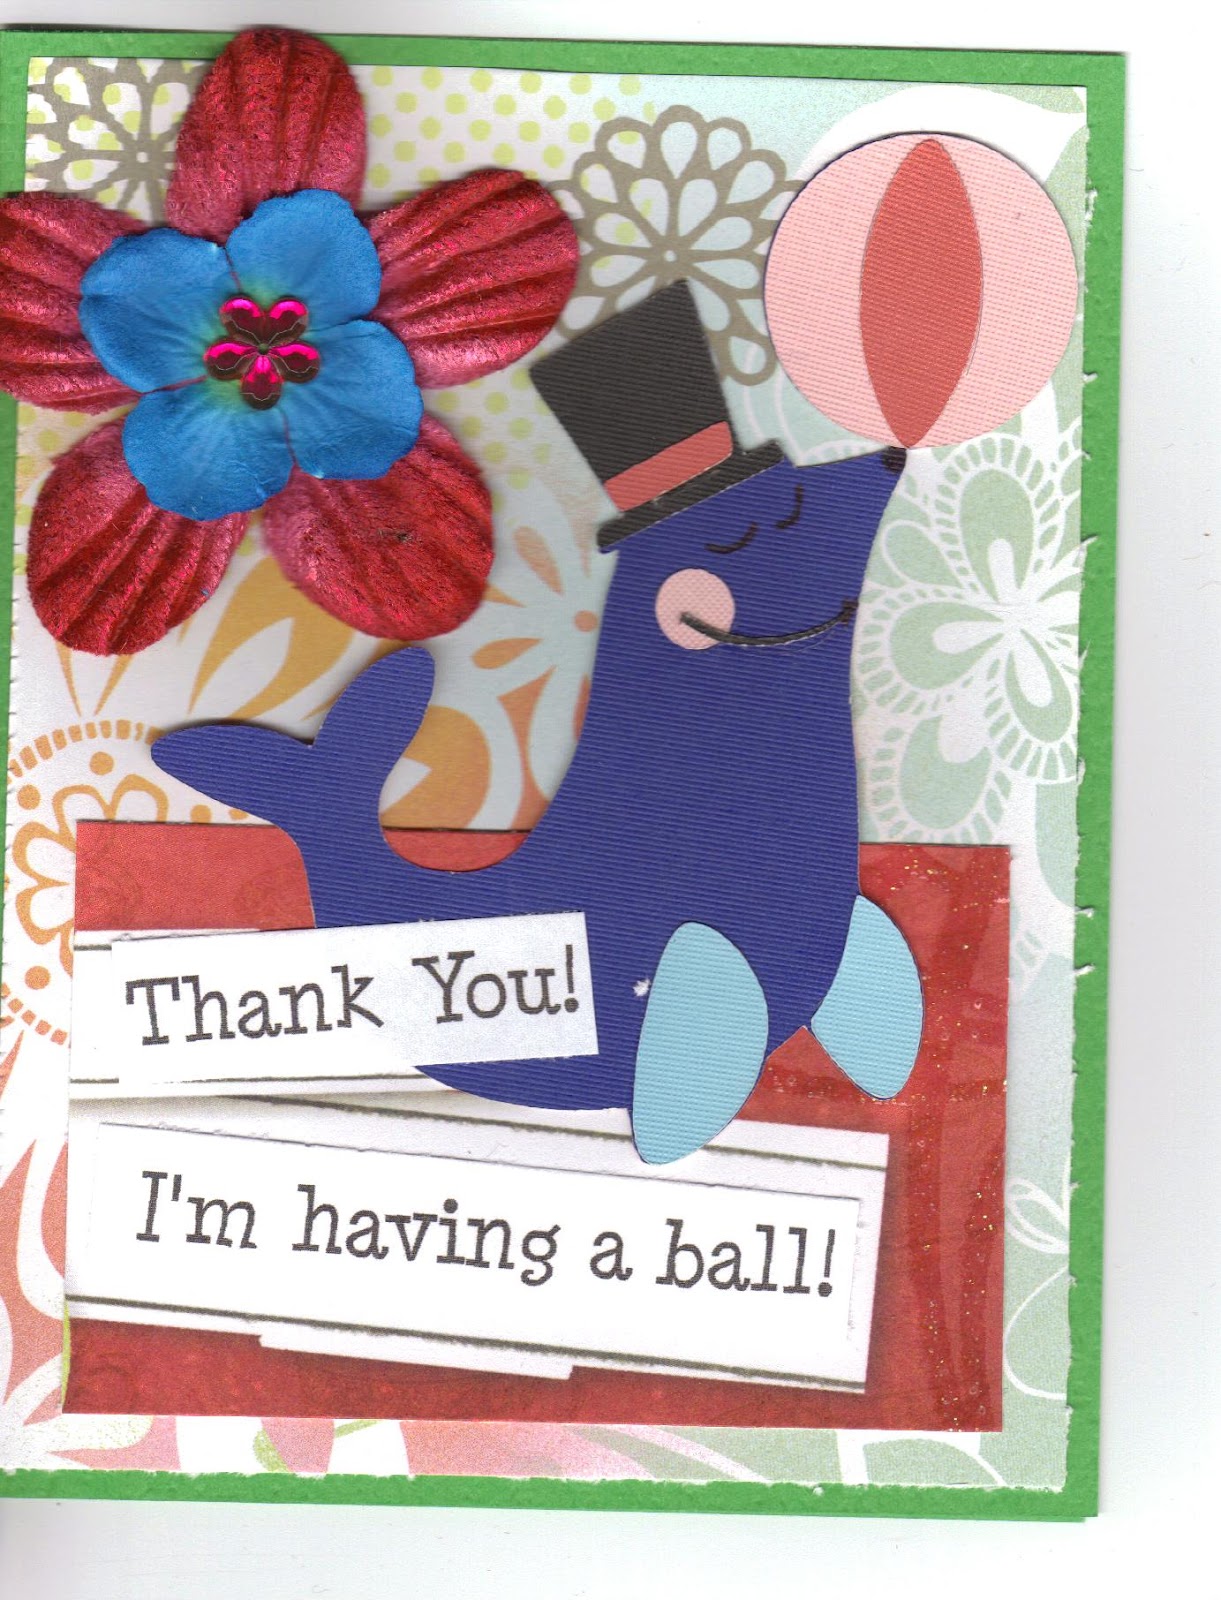
Paper Playtime Digi Mondays!
 |
| Card #12 |
I used a pre-colored image from Prairie Fairy. CLICK HERE to check out their store. Their images are so FUN!!
Card base Brown from ValuePack - pre-scored for easy folding!
Pattern papers from ME & MY BIG IDEAS (RBPS-05)
Image from Prairie Fairy
Sentiment clear stamp from JOY'S LIFE
Flowers from Prima
Button from Joann's
CLICK HERE to join the fun at Paper Playtime!

Sunday, January 30, 2011
COMING UP THIS WEEK... SNEAK PEEKS
Here's some
SNEAK PEEKS
of what
you'll be seeing
this week on
Pause Dream Enjoy...


Y'all Come Back Now,
Ya Hear?!!

Saturday, January 29, 2011
MARK YOU CALENDARS!

This is your friendly weekend reminder to mark your calendars for the CUPCAKE BLOG HOP which starts RIGHT HERE on Saturday, February 26th.
I know, I know.... it's not until the end of next month.
But I figure if I keep reminding you every weekend until then, you surely won't forget and miss all the delicious fun! Right?!
Have a fun weekend, you guys.
Be Adventurous!
Be Explorers!
Do Something New!
Do Something So Not Like You!
Surprise Yourself!
Surprise Your Spouse!
Surprise Your Kids!
You Can Do It!
Dance!
Sing!
Play Chase!
Be Silly!
Eat Chocolate!
Let Someone Else COOK!
Take A Nap!
Watch A Chic Flick!
HUGS!!
(...and report back here via comments what you did!
But only if you feel like sharing... and keep it
Rated G,
****, you know who you are.
We don't need to know EVERYTHING.
LOL)

Friday, January 28, 2011
Flaunt It Fridays Ch #9 - PAPER PUPS
 |
| Card #10 |
Hello all my bloggy friends!
This week over at FLAUNT IT FRIDAYS
we are asked to FLAUNT the
DOG & CAT BORDER from PAPER PUPS page 104.
This cut was just screaming “MAKE ME A CARD!” to me. LOL
Well, that and my card stash is LOW and needs to be replenished.
Card base is Recollections pink cardstock cut in 1/2 to make a standard size A2 card. Card opens on left side instead of at top.
Background heart paper from Recollections ALL GIRL cut @ 5 1/4" x 4"
All other papers from various Recollections stacks.
Grass from PLANTIN SCHOOL BOOK page 69 cut @ 1 1/2" and trimmed length to fit width of card.
Directional Sign from MICKEY & FRIENDS page 122 cut @ 4" and trimmed height to fit card size.
Dog & Cat from PAPER PUPS page 104 cut @ 1 1/2".
Hearts from CREATE A CRITTER page 49 cut @ 2".
"RUFF" CREATE A CRITTER page 34 cut @ 1".
"PURR" CREATE A CRITTER page 38 cut @ 1".
Below is the first card I made.... I don't like it so much. I think it's going to get recycled into something else. LOL
 |
| Card #11 |
I didn't put a lot of extras on this card. Just wanted to keep it simple and sort of flat for mailing although there is a ribbon know and a few rhinestones on here, so not sure how flat it will actually be in the envelope.
- Red card base from Value Pack (pre-scored for easy folding)
- PAPER PUPS dog and cat BORDER feature p. 104 cut @ 1 1/2”
- Background paper from Recollections “The Pet Pad” cut @ 4” x 2 1/4”
- “Meow” and “Woof” Sentiments cut from same paper pad
- Ribbon and Rhinestones from stash
- A little bit of Colorbox ink added around the edges
We hope you pop over to FLUANT IT FRIDAYS and play along with us!

Wednesday, January 26, 2011
Mary's Cupcake Challenge
 |
| Card #9 |
Good morning, everyone!
Everybody loves Cupcakes, right?! Yummy!
Here is my card for CardzTV's Cupcake Challenge!
I've been thinking a lot about cupcakes latley... no, not because I'm hungry, but because I will be hosting a CUPCAKE BLOG HOP on Saturday, February 26th starting RIGHT HERE! So when I saw Mary was having a CUPCAKE Challenge, I thought, YEAH! Cupcakes!!
My card is 6" x 6" - not a size I usually make, but I wanted to make a huge cupcake that took up most of the space on a card.
My card base is cut from DCWV The Vintage Collage Stack.

CREATE A CRITTER cupcake page 36 cut @ 5" using assort paper scraps.
CREATE A CRITTER dino page 50 cut @ 4".
"Hello, Cupcake!" printed from computer with Minya Nouvelle @ 22 pts.
Cherry was run through the Xyron and then glittered.
Hop over to CARDZTV and join the challenge! Ends this Friday.
And don't forget to come back here February 26th for
the HELLO, CUPCAKE BLOG HOP! Fun, Fun, Fun!!


Tuesday, January 25, 2011
52Q WEEK 26

Hello all my bloggy friends!
Have you heard of the 52Q? CLICK HERE to get info on what it is, how to play, and to see all my previous 52Q week's projects.
For 52Q Week 26 your page assignment is:
Make up a WORD and give it's DEFINITION.
I make my mini album pages uses A2 size cards. I just seal the bottom and side so that I can slip a top in the top with the answer to the question on it.
- Page base is Peach Value pack card sealed on bottom and sides so tag with answer and slip into the top of it
- Papers from Recollections THE PET PAD 8”x8” papers
- Word sticker with definition from Making Memories – defined clear stickers
- Cricut Cartridge TAGS, BAGS, BOXES, & MORE
- Tag page 89 cut @ 5 1/2”
- buttons and ribbon from stash
The word I made up is FUNTABULICIOUS. The definition is: adjective. Fun, fantastic, scrumptiously fun, cute, creative...

Monday, January 24, 2011
Paper Playtime - Anything PARTY Related
 |
| Card #7 |
This week at Paper Playtime
our challenge is to create
ANYTHING PARTY RELATED.
I made an "after the party" thank you card for a gift received.
Card base is textured green from Value Pack (pre-scored for easy folding)
Background paper is from ME & MY BIG IDEAS stack.
Red sentiment paper is from DCWV The Vintage Collage Stack (yep - using those scraps!)
Flowers from Prima
Rhinestone from Joann's
Seal cut from BIRTHDAY BASH p. 29 cut @ 4" using
Recollections double sided, textured paper
I also made a birthday card for our grandson!
 |
| Card #8 |
Card base CREAM from Value Pack
Background Balloon paper from Karen Foster cut @ 5 1/4" x 4"
Red paper from DCWV School Days cut @ 5 1/4" x 2"
Cricut Cartridge A CHILD'S YEAR
Highchair p. 28 cut @ 4 1/2" with Recollections paper
"1" oval same page cut @ 1 1/2"
Kitty page 61 cut @ 1"
White gel pen for accents on cuts
Everything inked around the edges with Color Box inks
Come on over to PAPER PLAYTIME and play with us!

Saturday, January 22, 2011
BIRTHDAY CARD
 |
| Card #6 |
Good morning! I hope you all have a FUN weekend!
Here is a card I made yesterday for a friend's daughter.
The card is 6" x 8" - larger than I usually use for cards.
I wanted to use this lady carrying a tray on the
Cricut Lite BLOCK PARTY cartridge,
and when I cut her originally at 5", man, the little pieces were itty bitty. So I chucked that size and cut her again this time at 7". Much better.
The cupcake tray is from BIRTHDAY BASH
on page 55 cut @ 2 1/2".
Card base and inside papers from My Mind's Eye, Laundry Line.
All solid papers from Recollections assorted packs.
Tag on front was from stash - I have no idea where it came from.
Rhinestones and Ribbon from Joann's.
"L" inside (for Lauren) from stash.

I challenged myself at the beginning of the year to make more projects other than cards. I love making cards, but I got in a "card crafting rut".
So now my problem is my card stash is almost non-existent. LOL Back to making cards for a while to build up my stash. :)

Friday, January 21, 2011
Flaunt It Fridays #8 - GIVE A HOOT, BEAR IN CAN CUT

And here's the black and white version
so you can read it better:
 |
| Card #5 |
What can you do to FLAUNT this cut? Hope you'll hop over and join in the fun with us.
:) Janis
Thursday, January 20, 2011
MINI ALBUM SERIES #1 - TOILET PAPER ROLL MINI
MINI ALBUM SERIES #1
Hello, all my bloggy friends, and welcome to my new MINI ALBUM SERIES #1!
I just ADORE mini albums! They are quick and easy to make. Finishing them so quickly gives me such a sense of accomplishment and instant gratification.
A while back (2009?) a very good friend of mine, MARY from CARDZTV, did a mini series on mini albums. WOW! I loved it! Recently I bought a book all about mini albums – I'll stick in the photo of it here:

I thought it would be fun to create my own MINI ALBUM SERIES with some ideas I've used in the past and some brand new ideas explained in this book.
THE MOST IMPORTANT THING I WANT YOU IMPRINT ON YOUR BRAIN IS THAT YOU DON'T NEED TO HAVE EVERY GADGET AND GIZMO TO MAKE MINIS. ALL YOU NEED IS BASIC SUPPLIES AND OFTEN THINGS YOU CAN RECYCLE. OF COURSE YOUR IMAGINATION IS KEY HERE.
For today, I'm going to start off with an old favorite I learned from MARY. You can watch her video by CLICKING HERE.
First thing you need to do is save those TOILET PAPER ROLLS! Every brand has a slightly different size roll, so be sure and use the rolls from the same package to make your measuring life a whole lot easier. My rolls are from Charmin Ultra Strong Mega Rolls, and that's the measurements I'll be giving you here. (Didn't know we were going to get this personal, huh?)


Decide how many “pages” you want your mini to have, and that's the number of rolls you'll need. Next you'll need to flatten your rolls. Mary runs her rolls through her Cuddlebug which I think is an excellent idea. However, I don't have a Cuddlebug. Not to fear if you don't either! You can either try using a rolling pin to flatten them or just do what I do. I get a strong straight-edge like a metal ruler or ink pen, or a bone folder. I push them down with my fingers and run the straight-edge along the fold to give it a GOOD crease.
Measure your rolls' width and height. My rolls measured 4 1/4” wide and one flattened side was 2 1/8” high. So I cut CARDSTOCK at 4 1/4” x 7 1/2”.
Run adhesive along all the edges of the back of your paper. Start adhering about 1/3" down your roll and wrap the rest of the cardstock paper around your roll. Make sure you press it down so the adhesive is good and STUCK! You can use Tacky Glue, Red Tape, or your ATG Gun. If you don't have any of these adhesives, just find some adhesive you do have that is pretty strong and premanent. Elmer's Glue is probably NOT your best choice, but if that's all you got – hey – try it! Don't stop now.
You can see in the photo below where I wrapped the paper around and it stops around that one girl's waistline. Don't worry about being able to see where the paper wraps around. you can cover that up easy with decorations. It's best NOT to start your paper on the fold line. By wrapping it around and overlapping a little like this, it's less likely your paper will fray up and come unglued with lots of handling of your mini and turning the pages, etc.
You can see in the photo below where I wrapped the paper around and it stops around that one girl's waistline. Don't worry about being able to see where the paper wraps around. you can cover that up easy with decorations. It's best NOT to start your paper on the fold line. By wrapping it around and overlapping a little like this, it's less likely your paper will fray up and come unglued with lots of handling of your mini and turning the pages, etc.

On one end where the opening to your roll is, you'll want to punch 1 or 2 holes there. If you have a BIND IT ALL or CINCH – you can opt to use that. I don't have either one of those. You can use a hole punch or Cropadile to punch the holes.
For extra durability, you can set eyelets in the holes. I've made these before without the eyelets, so it's not required or anything.

Use ribbon or binding rings to hold all the pages together. I used 1” binding rings I got from Office Depot about a year ago. I think I got a bucket of 100 for like $5 or something like that. They were bought in Alaska and everything cost more there, so I'm sure they are cheaper than that in the lower 48.
The other opened end of your toilet paper rolls are PERFECT for slipping in TAGS with pictures or messages on them. I used Cricut Cartridge TAGS, BAGS, BOXES, AND MORE to cut my tags from page 91 cut @ 4 1/4” along with the shadow. If you don't have that cart, or a Cricut, just cut some rectangles and angle the top two corners – voila! You have a custom, hand-made tag! It's fun to slip ribbon at the top of the tag, but not necessary.
 |
| Front |
 |
| Back |
 |
| Ribbon stapled on |
Now all that is left is your imagination for decorating your mini. Buttons, ribbon, charms from broken bracelets (okay, so it wasn't broken until I took it apart), jewelry pins (yep), rhinestones (hey - I got these FREE in candy I won!), flowers (okay, so I bought the flowers), lace (clearance bin), ribbon (2 for $1 at Michael's), stickers ($1 bin).... whatever you have laying around works great! You can even disassemble an old flower arrangement in your attic and steal the flowers off of it. (Yes, guilty here.)


All papers from DCWV THE VINTAGE COLLAGE STACK

I would love to see the TOILET PAPER ROLL album you make! Please link your album below. There is no prize, just fun sharing our projects with everyone and seeing what ideas YOU came up with.
Until next time...
Save your empty cereal boxes, pop tart boxes, soda boxes, etc.... They just might come in handy with our next mini!

WE ALL NEED A GOOD LAUGH EVERY DAY
Just stop what you are doing, get your coffee or Coke or Pepsi or beverage of choice, and sit down and watch this!
She's my new HERO! LOL
She's my new HERO! LOL
Wednesday, January 19, 2011
CCC #58 SNOWMAN
So here was the first attempt at a snowman card. The background papers is from the DCWV Grade School stack and it's really cute because it looks like a playground and all the toys and hopscotch you would play with on a playground. But I so was not happy with this card - so I chunked it.
Snowman is from Hello Kitty Greetings p. 77 cut @ 3 1/2"
 |
| Card #3 |
Here's my next project:
 |
| Card #4 |
Much happier with this card.
Winter Frolic snowman cut @ 3 1/2"
Papers from scraps
Sentiment printed from computer using Minya Nouvelle
Rhinestones for pink cheeks
Googlie Eyes!
I hope you'll pop over and play with us at CCC this week! The challenge is to make a SNOWMAN card using any Cricut cartridge and colors you'd like.
:) Janis
Tuesday, January 18, 2011
52Q WEEK 25 - WHAT IS BEAUTIFUL?

Hello all my bloggy friends!
Have you heard of the 52Q? CLICK HERE to get info on what it is, how to play, and to see all my previous 52Q week's projects.
For 52Q Week 25 your question is:
What is Beautiful ?
I make my mini album pages uses A2 size cards. I just seal the bottom and side so that I can slip a tag in the top with the answer to the question on it.
- Papers from RETRO GLAM
- Cricut Cartridge FOREVER YOUNG
- “Original” tag page 45 cut @ 1”
- Mirror page 48 cut @ 4”
- Model 18 page 41 cut @ 3”
- Cricut Cartridge TAGS, BAGS, BOXES, & MORE
- Tag page 89 cut @ 4 1/2”
- “life is beautiful” sticker from RETRO GLAM
Hugs, :) Janis
Monday, January 17, 2011
Paper Playtime - Use the Word "LOVE" on Your Project & WINNERS FROM LAST WEEK'S BLOG HOP!!
BEFORE I GET TO MY PAPER PLAYTIME CHALLENGE POST, I BET YOU GUYS ARE WONDERING WHO WON THE GIVEAWAYS FROM LAST WEEK...
LET ME SAY, YOU GUYS BLEW ME AWAY WITH THE 456 COMMENTS ON THE BLOG HOP! OH MY GOSH! I LOVED ALL THE COMMENT LOVE, ENCOURAGEMENT, AND SMILES. THANK YOU SO MUCH! AND TO EVERYONE WHO IS A LONG TIME FOLLOWER OR BECAME A NEW FOLLOWER - YOU ROCK! THANKS!
FIRST, AS A LITTLE EXTRA SURPRISE THAT YOU ONLY SAW IF YOU EITHER VISIT MY BLOG DAILY OR HAVE SUBSCRIBED FOR EMAIL UPDATES... I DID A PRE-BLOG HOP GIVEAWAY THE DAY BEFORE THE HOP STARTED. YOU JUST NEVER KNOW WHEN I'LL BE GIVING SOMETHING AWAY THAT ISN'T ADVERTISED IN ADVANCED, HEHEHEHEHE.... OH THE FUN.....
THE WINNER OF THE PRE-BLOG SHOP GIVEAWAY... AND JUST A REMINDER... THIS IS WHAT YOU'VE WON:
 |
| FRONT |
 |
| BACK |
THE WINNER IS... CHRISTI HICKS! EMAIL ME (JANIS) WITH YOUR USA SHIPPING ADDRESS TO NORTHROSE@SLOWAR.COM
THE WINNER OF THE BLOG HOP CANDY... AND JUST A REMINDER, CATHERINE POOLER OF STAMPIN' UP SPONSORED WITH A One Free Month Subscription of Club Inbox! ... THE WINNER IS... SCRAPPINCRAFTER OF SCRAPPINCRAFTER.BLOGSPOT.COM! EMAIL ME (JANIS) WITH YOUR USA SHIPPING ADDRESS TO NORTHROSE@SLOWAR.COM
YEAH! THIS WAS SO MUCH FUN AND OH THE IDEAS WE GOT FROM ALL THE TALENTED LADIES ON THE HOP. MY TO-DO LIST IS GROWING WITH PROJECT IDEAS!
NOW.... ON TO TODAY'S PAPER PLAYTIME POST...


This week at Paper Playtime our challenge is to use the word "LOVE" on our projects.
Here is my LOVE purse made with TAGS, BAGS, BOXES & MORE Cricut Cartridge on page 117 cut @ 6" using DCWV The Vintage Collage Stack.
LOVE cut from CREATE A CRITTER page 66 @ 2 1/2"
If I had some tissue paper around here, I'd place it 'ever just so' in this heart bag. Just use your imagination that it's in there. I think I'm going to fill this with little slips of paper with little verses about LOVE. My sister has a very special day coming up in February, and I know she would just love this.
Hop over to Paper Playtime and play along with us!
Show us some LOVE!
Hugs, :) Janis
Saturday, January 15, 2011
Birthday Scrapbook Layout

Cricut cartridge: BIRTHDAY BASH
Squirrel page 61 cut @ 3 1/2", Sentiment page 61 cut @ 4"
Photo Mats page 68 (Font Feature) cut @ 3 1/4" and 4"
Cardstock: Recollections Colored Core paper pad
Design paper: Recollections The Pet pad 8" x 8"
Other: Brads, Ultra Fine Tip Black Sharpie, White Gel Pen
Thank you so much for visiting my blog, following, & commenting!!
:) Janis Lewis, Pause Dream Enjoy
Subscribe to:
Posts (Atom)