Hi, Crafters!
It's Janis here today from PAUSE DREAM ENJOY
to show you a super fun project.
to show you a super fun project.
On my project, I used two of
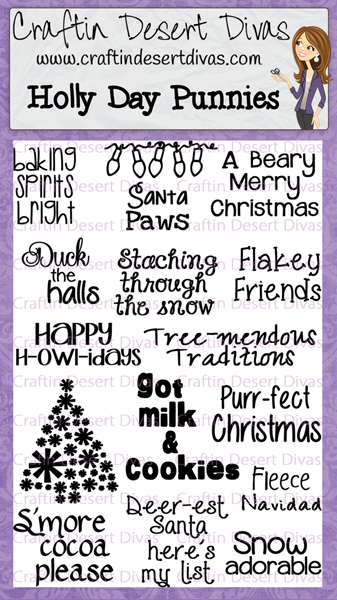
Craftin Desert Divas' stamp sets:
Holly Day Punnies
(Deer-est Santa here's my list)
and
Simply Christmas
(To: From: and image of gift)
The front of the mailbox is actually the "top" of the box.
It comes completely off, and you could stick a gift in there
or let your children or grandchildren mail letters to
Santa in there.
The bow is from a metal die as are the stitched squares on the front and the side.
The squares are shaded with Tim Holtz Broken China distress ink.
Some jute bows were added here and there, and a brad to the flag bottom
so it will go up and down.
Pattern papers were from scraps.
Craftin Desert Divas' stamp sets:
Holly Day Punnies
(Deer-est Santa here's my list)
and
Simply Christmas
(To: From: and image of gift)
Silhouette ID# 38512 - Mailbox cut
You can see a video tutorial from Lori Whitlock for assembly HERE.
Silhouette ID# 51744 - Deer head
Peachy Keen Stamps - PK-943 - Funshine Face Parts for Deer eyes
Here's a closer look at the sentiment on the side of the mailbox:
The front of the mailbox is actually the "top" of the box.
It comes completely off, and you could stick a gift in there
or let your children or grandchildren mail letters to
Santa in there.
The bow is from a metal die as are the stitched squares on the front and the side.
The squares are shaded with Tim Holtz Broken China distress ink.
Some jute bows were added here and there, and a brad to the flag bottom
so it will go up and down.
Pattern papers were from scraps.
Thanks for stopping by to see what I am up to today.


